Click anywhere to close
Recently I have been really interested in learning about different types of mechanical manufacturing technologies, and I realized that silicone moulding is actually super easy to get started with at home. So, like I often do, I started looking for a project to justify learning/buying a bunch of new stuff.
Silicone mould making trial kits:
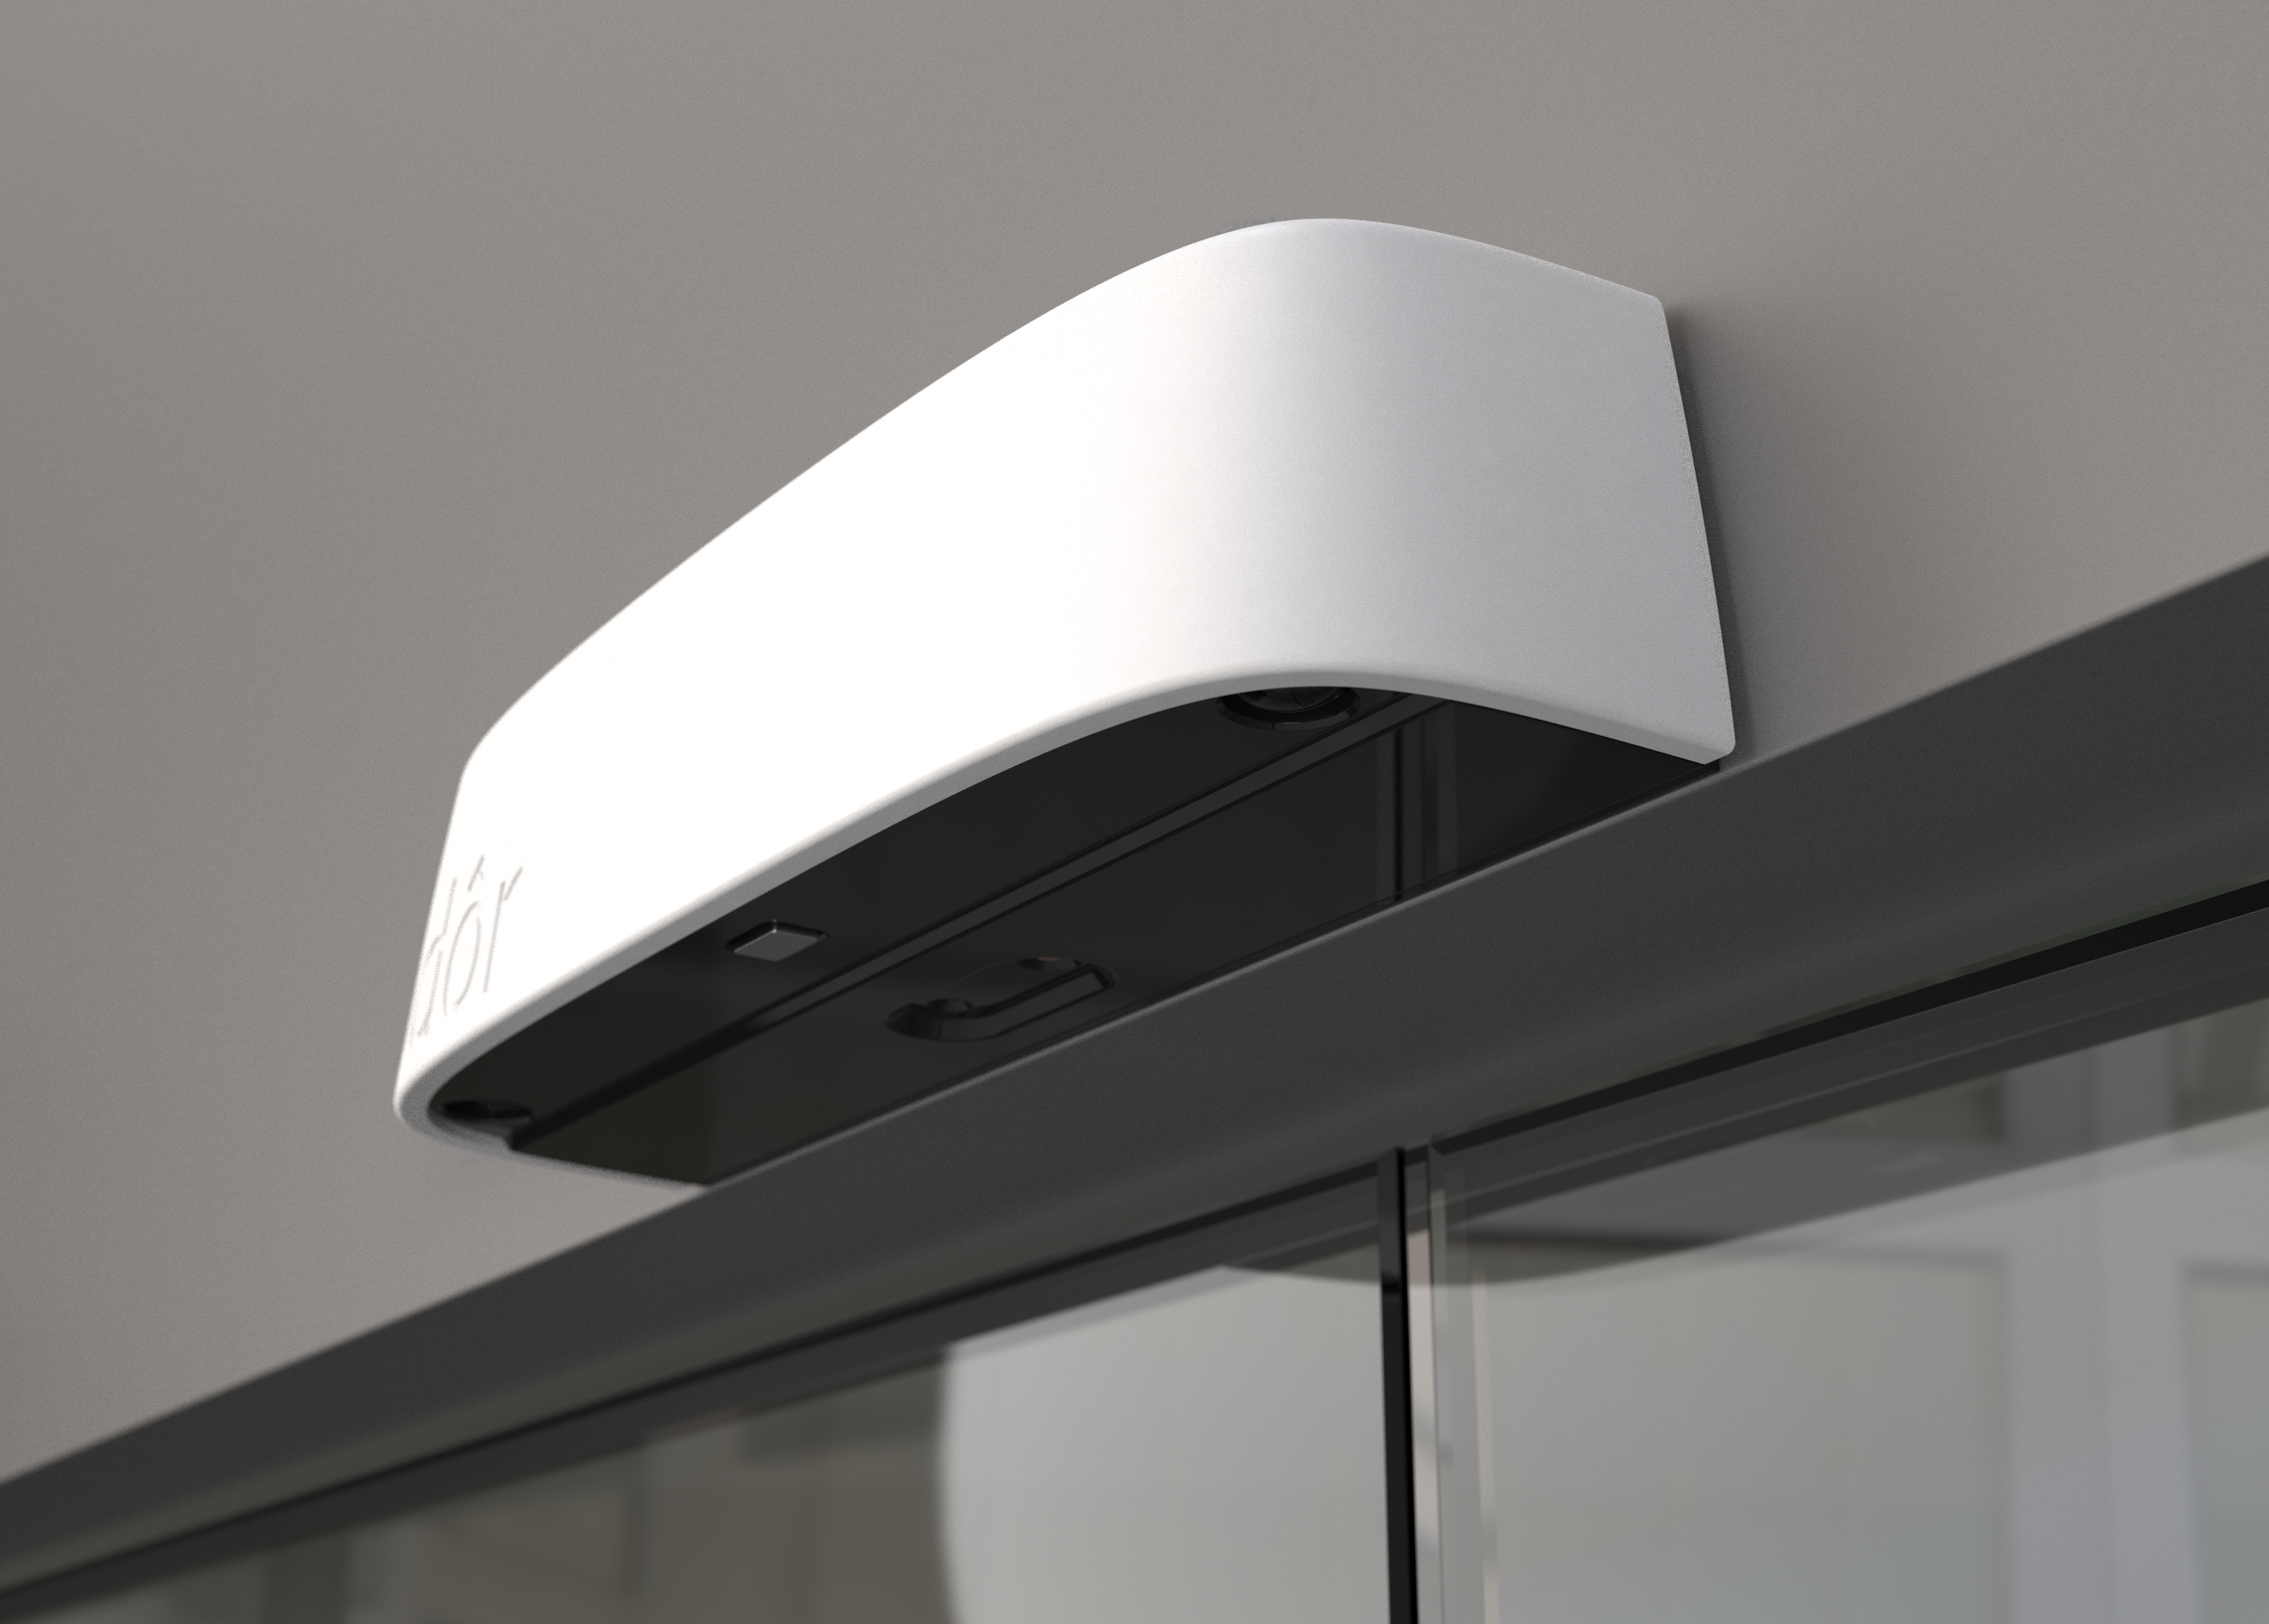
At my company, we are having a launch party for our latest generation of sensor, and I thought it would be super cool to celebrate by giving all my co-workers mini versions of the new product for their fridge.
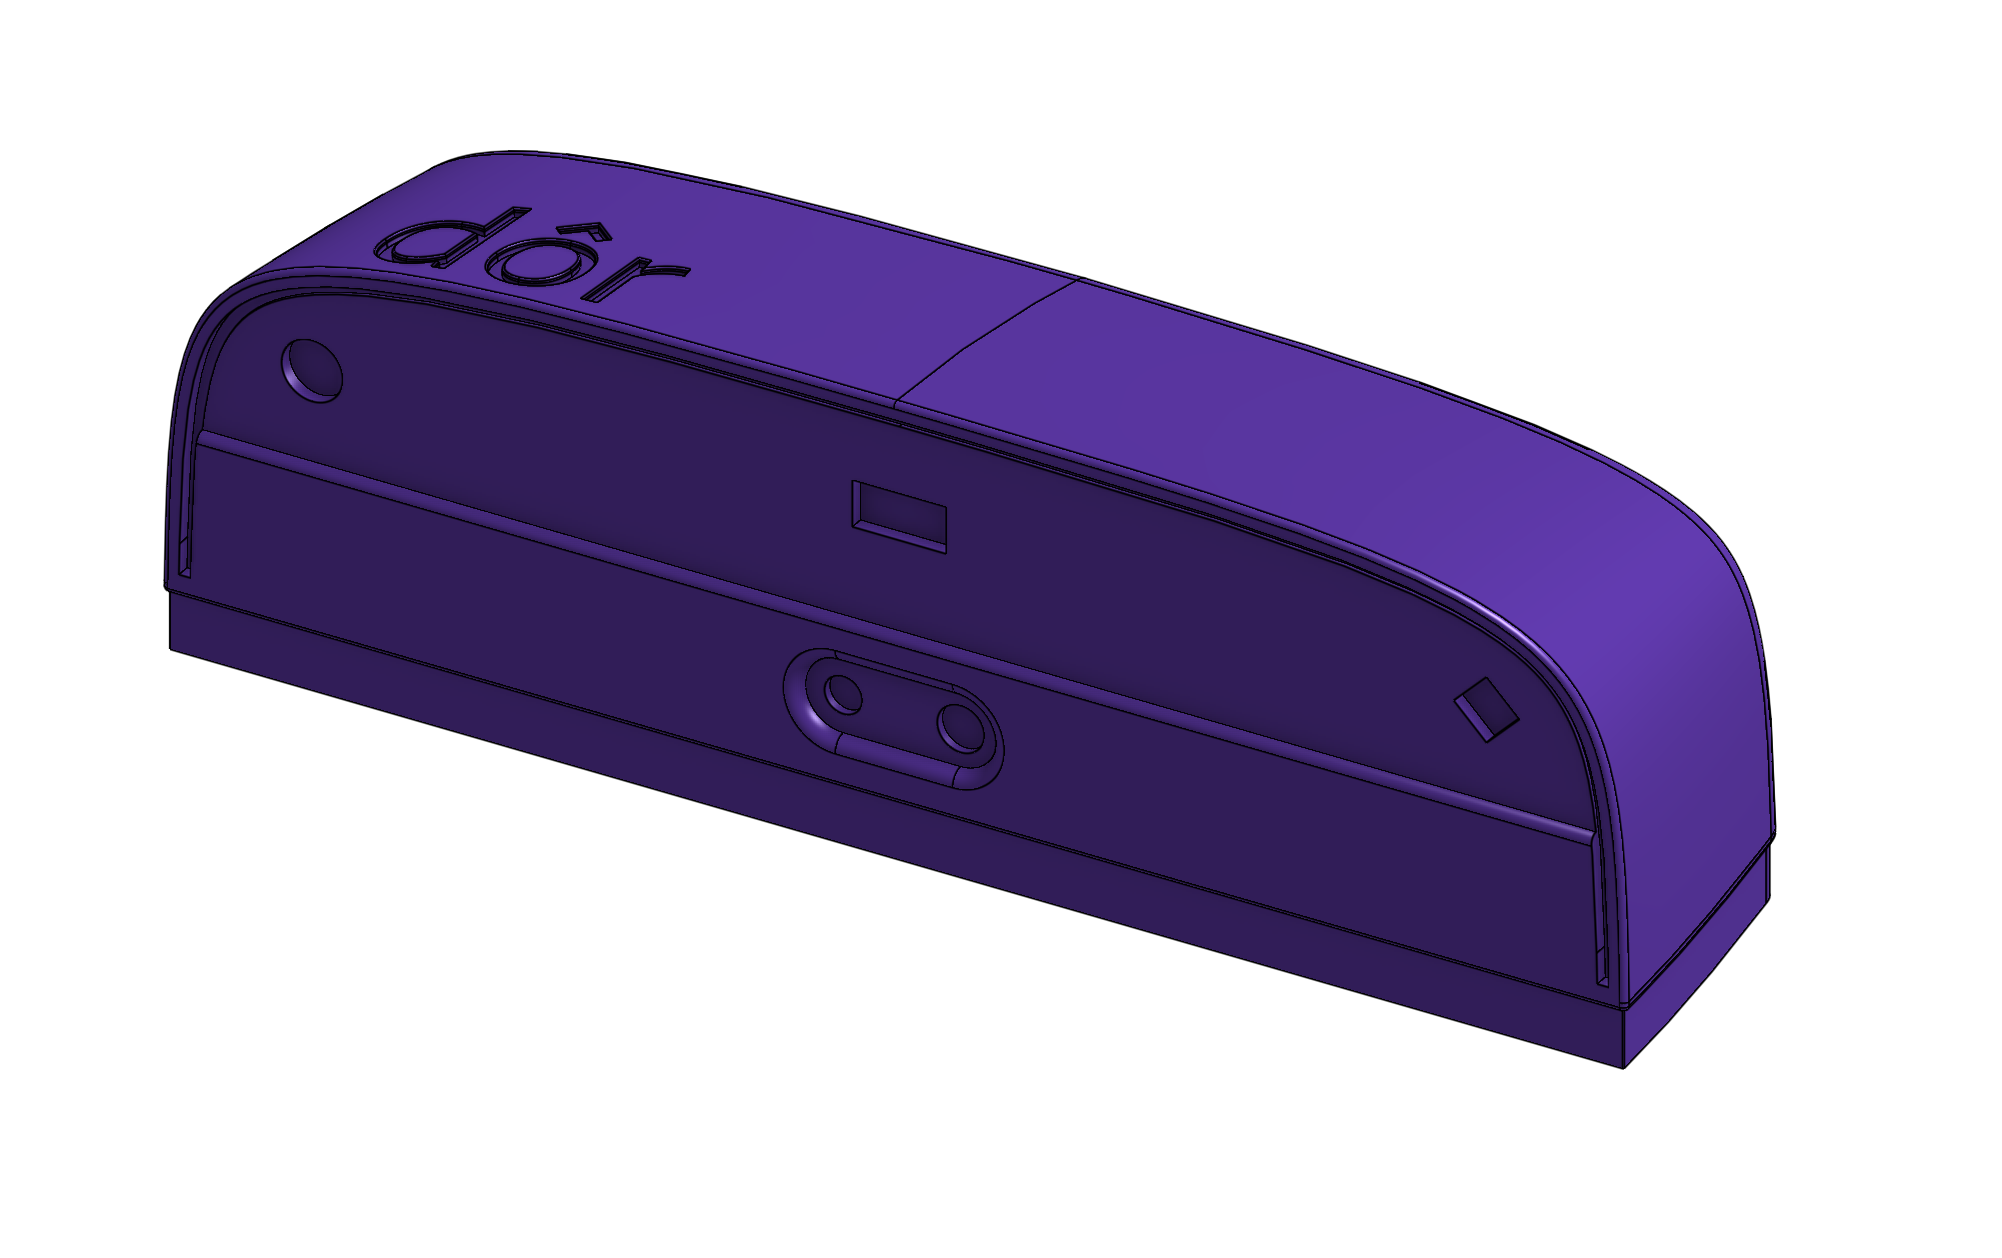
Dor’s new sensor, actual size:
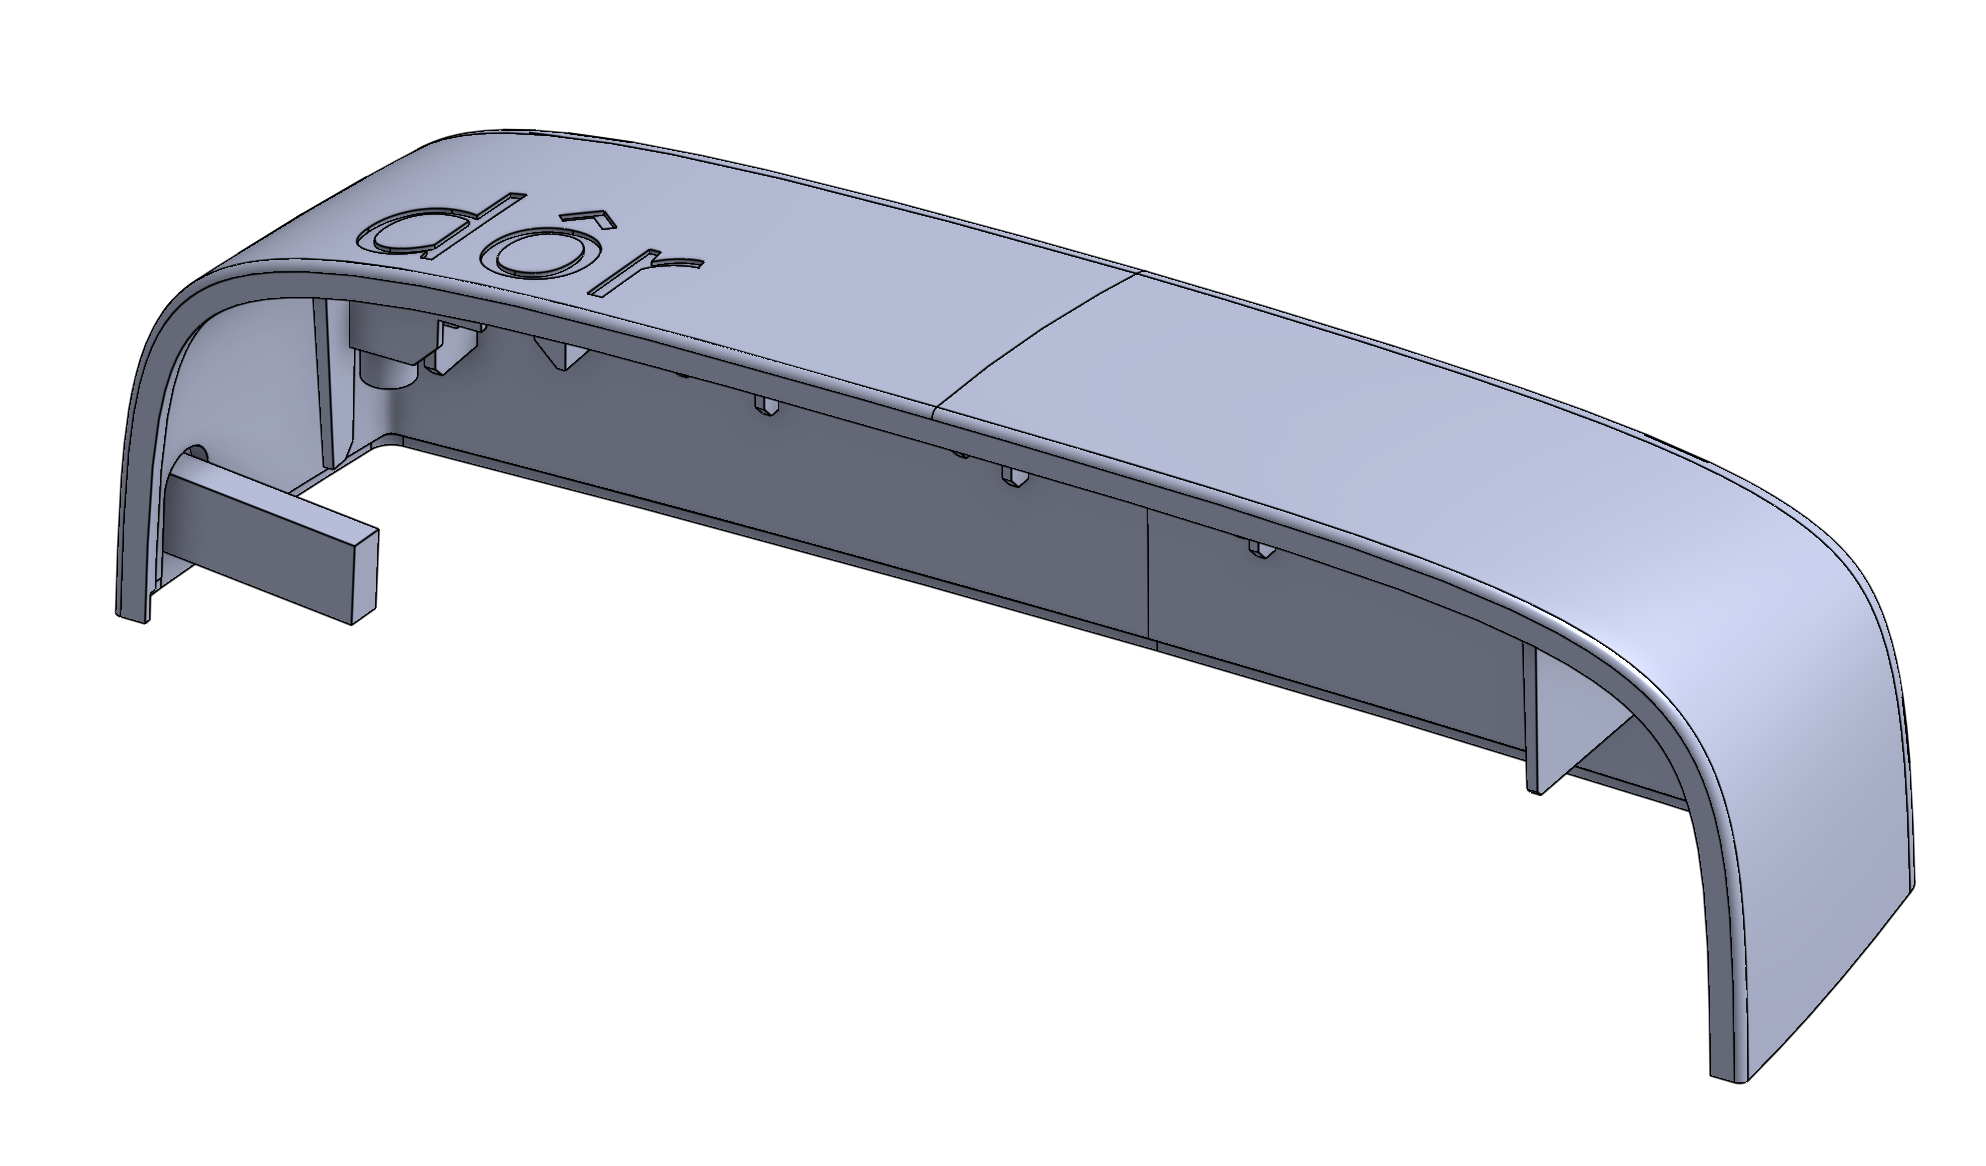
Before making the molds, I needed to get a 3d printed “master” made at the dimensions that I wanted to make the minis. The original sensor model contains a lot of really complex curves that I didn’t want to re-create from scratch, so instead I used a few boolean operations, starting from the original sensor to create a 45% scale solid version.
Started here:
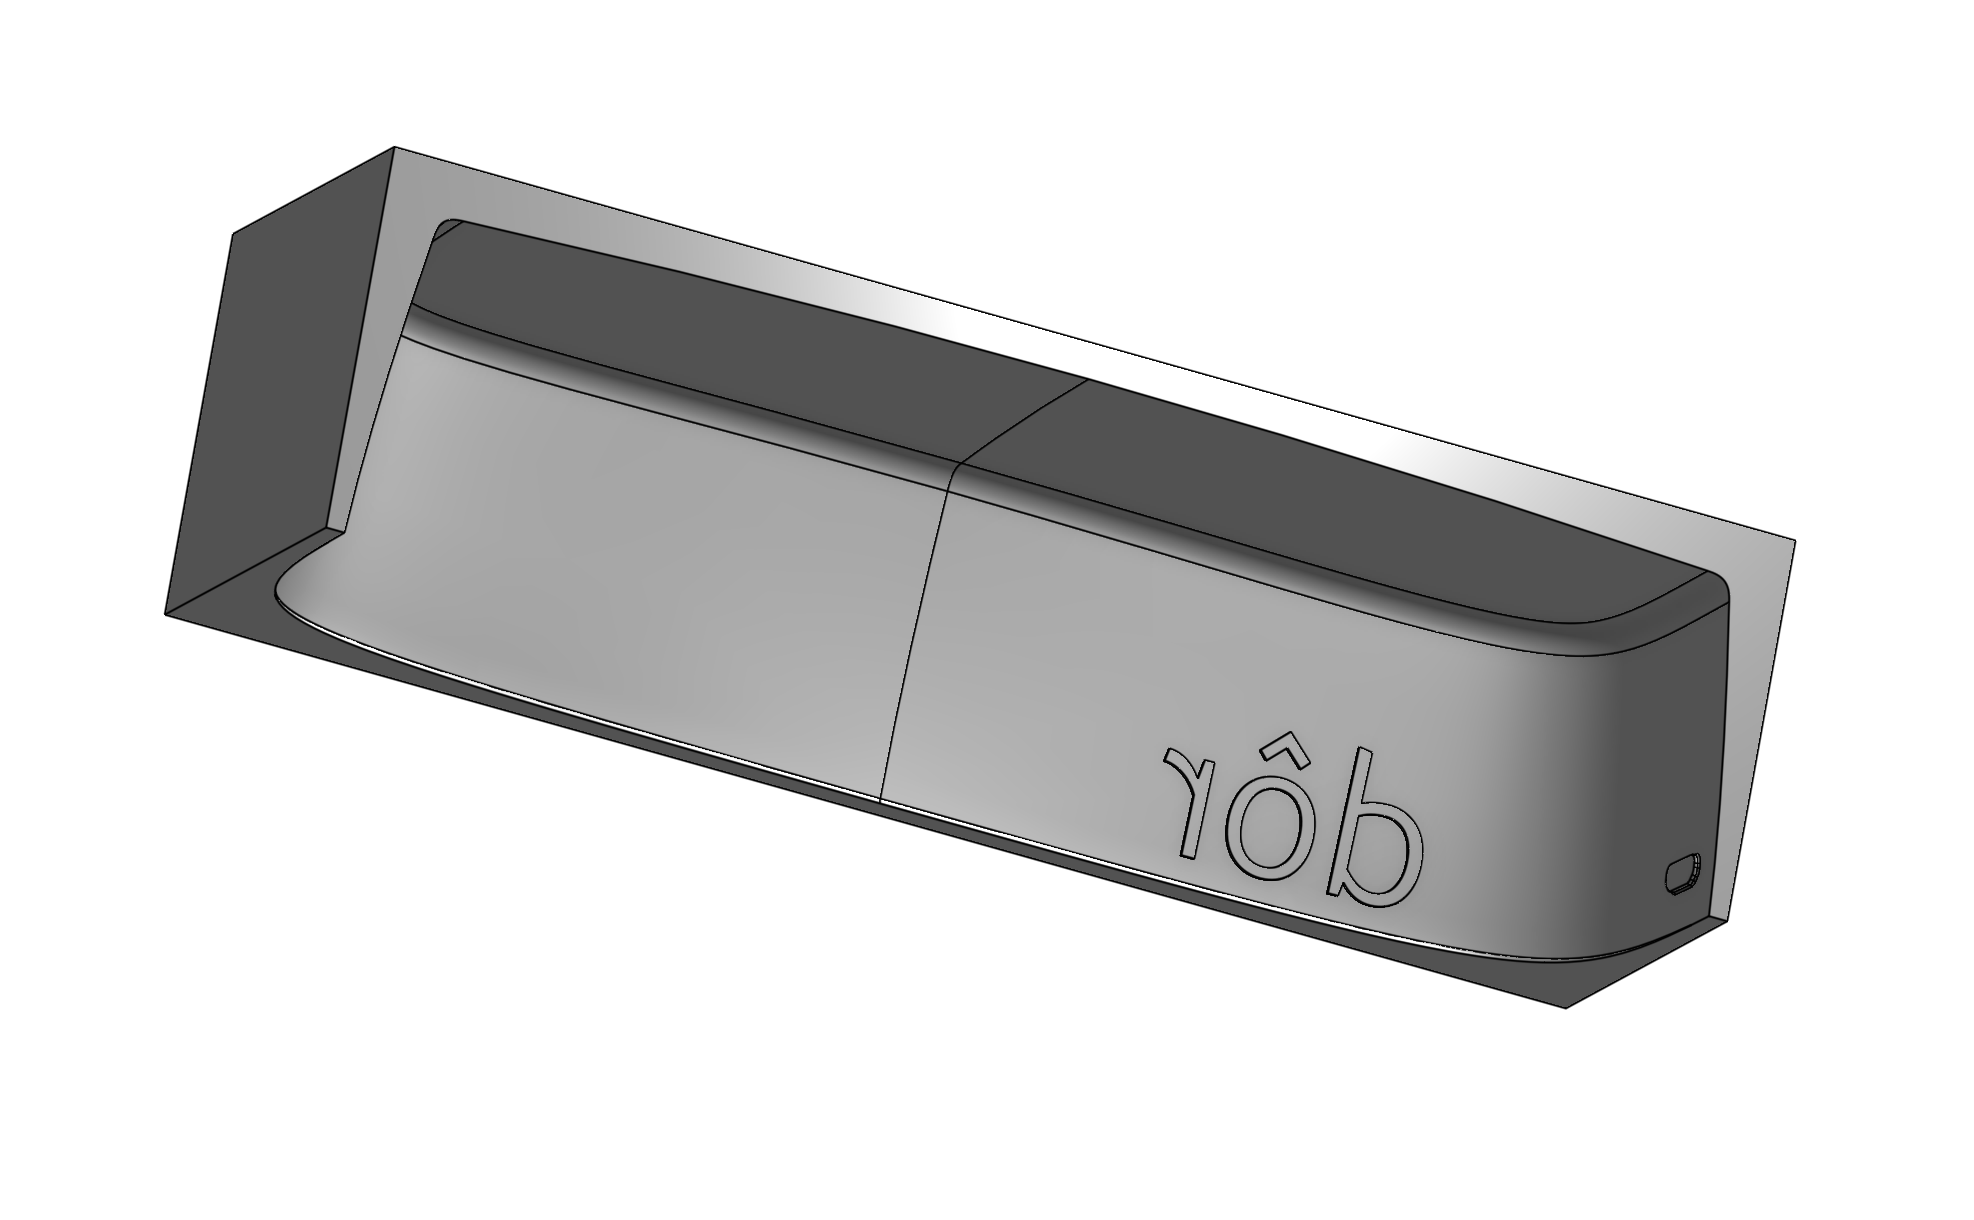
Subtracted that from a big block to get a negative:
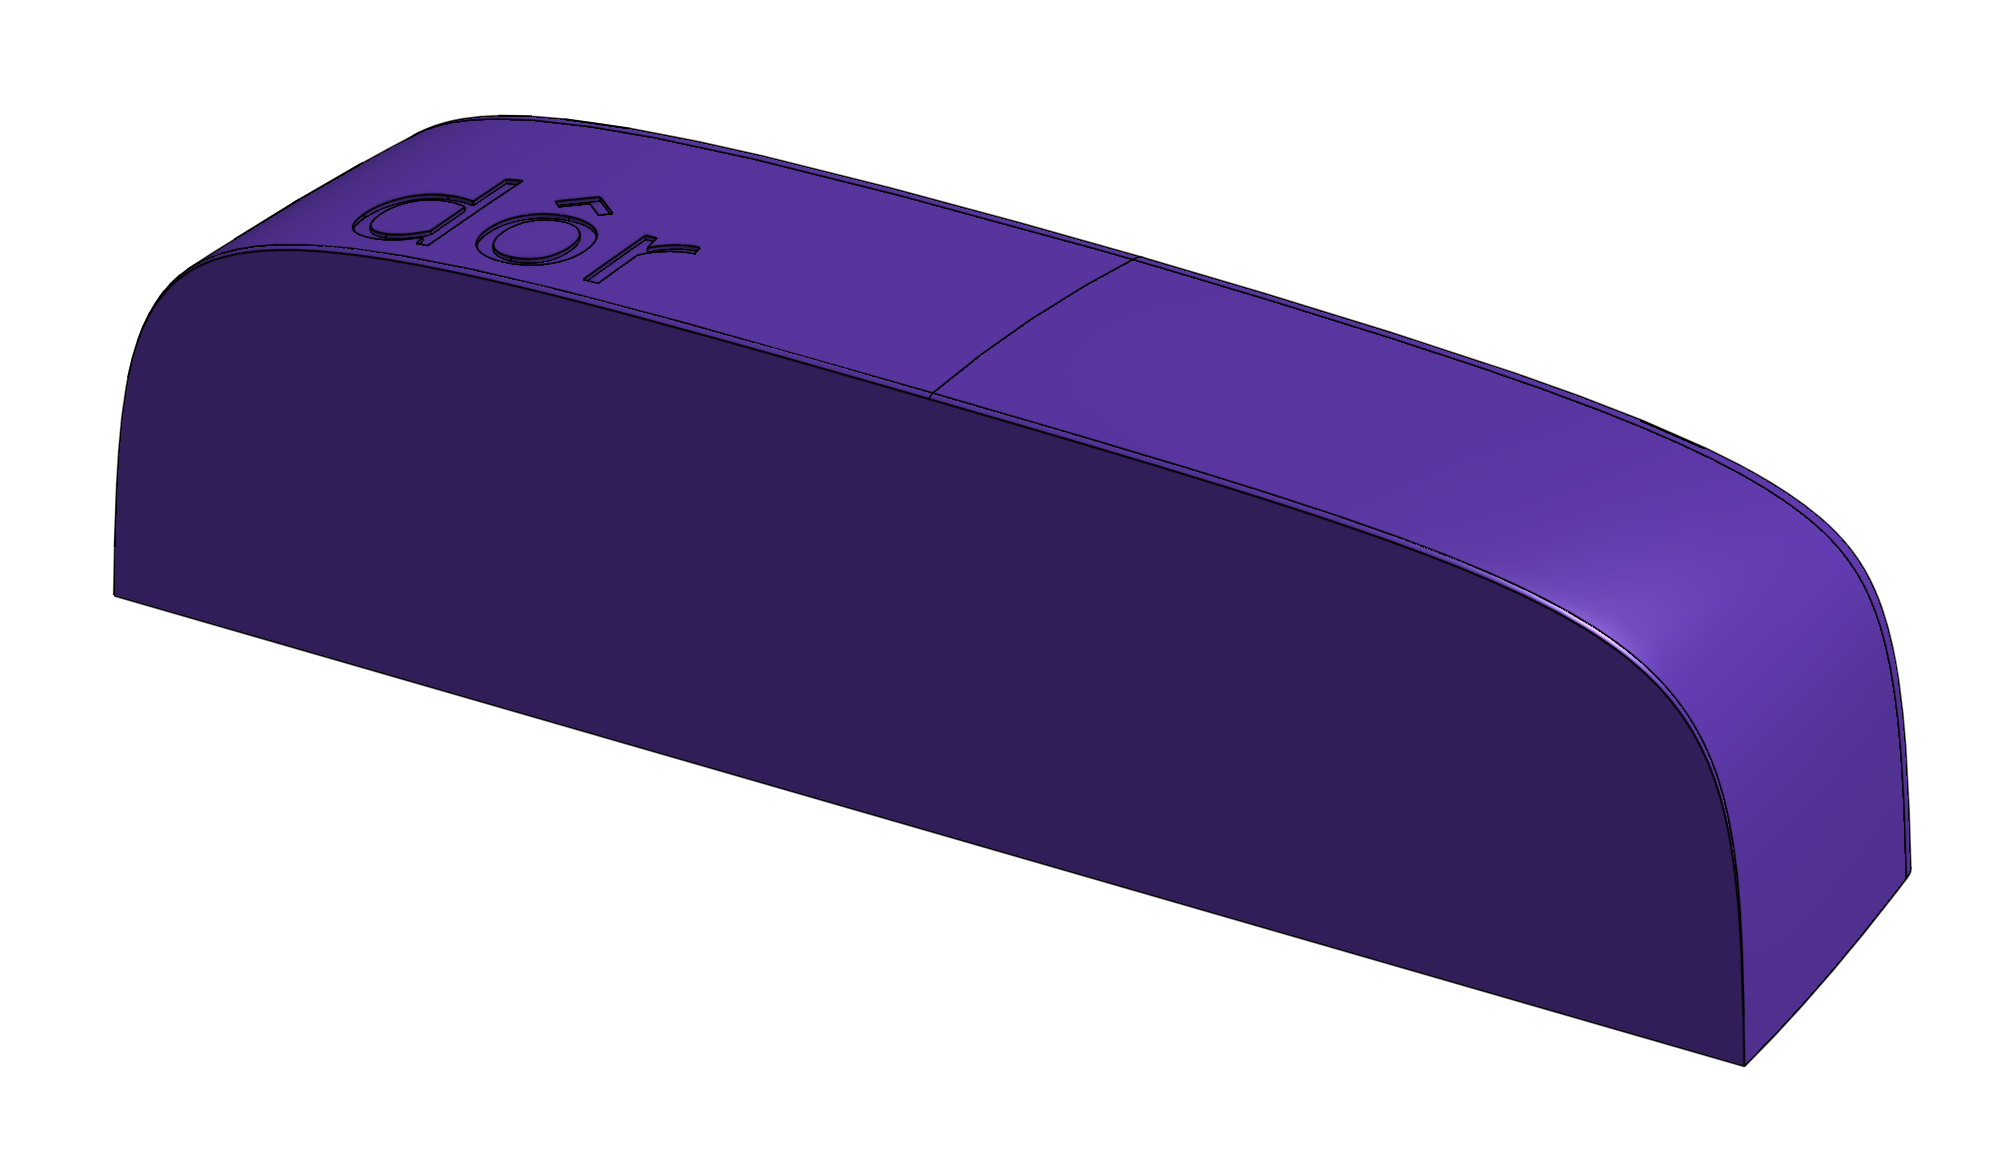
Subtracted again to get a solid version, and manually added back in some detail on the bottom of the sensor:
Printed a couple different versions to see what size I wanted:
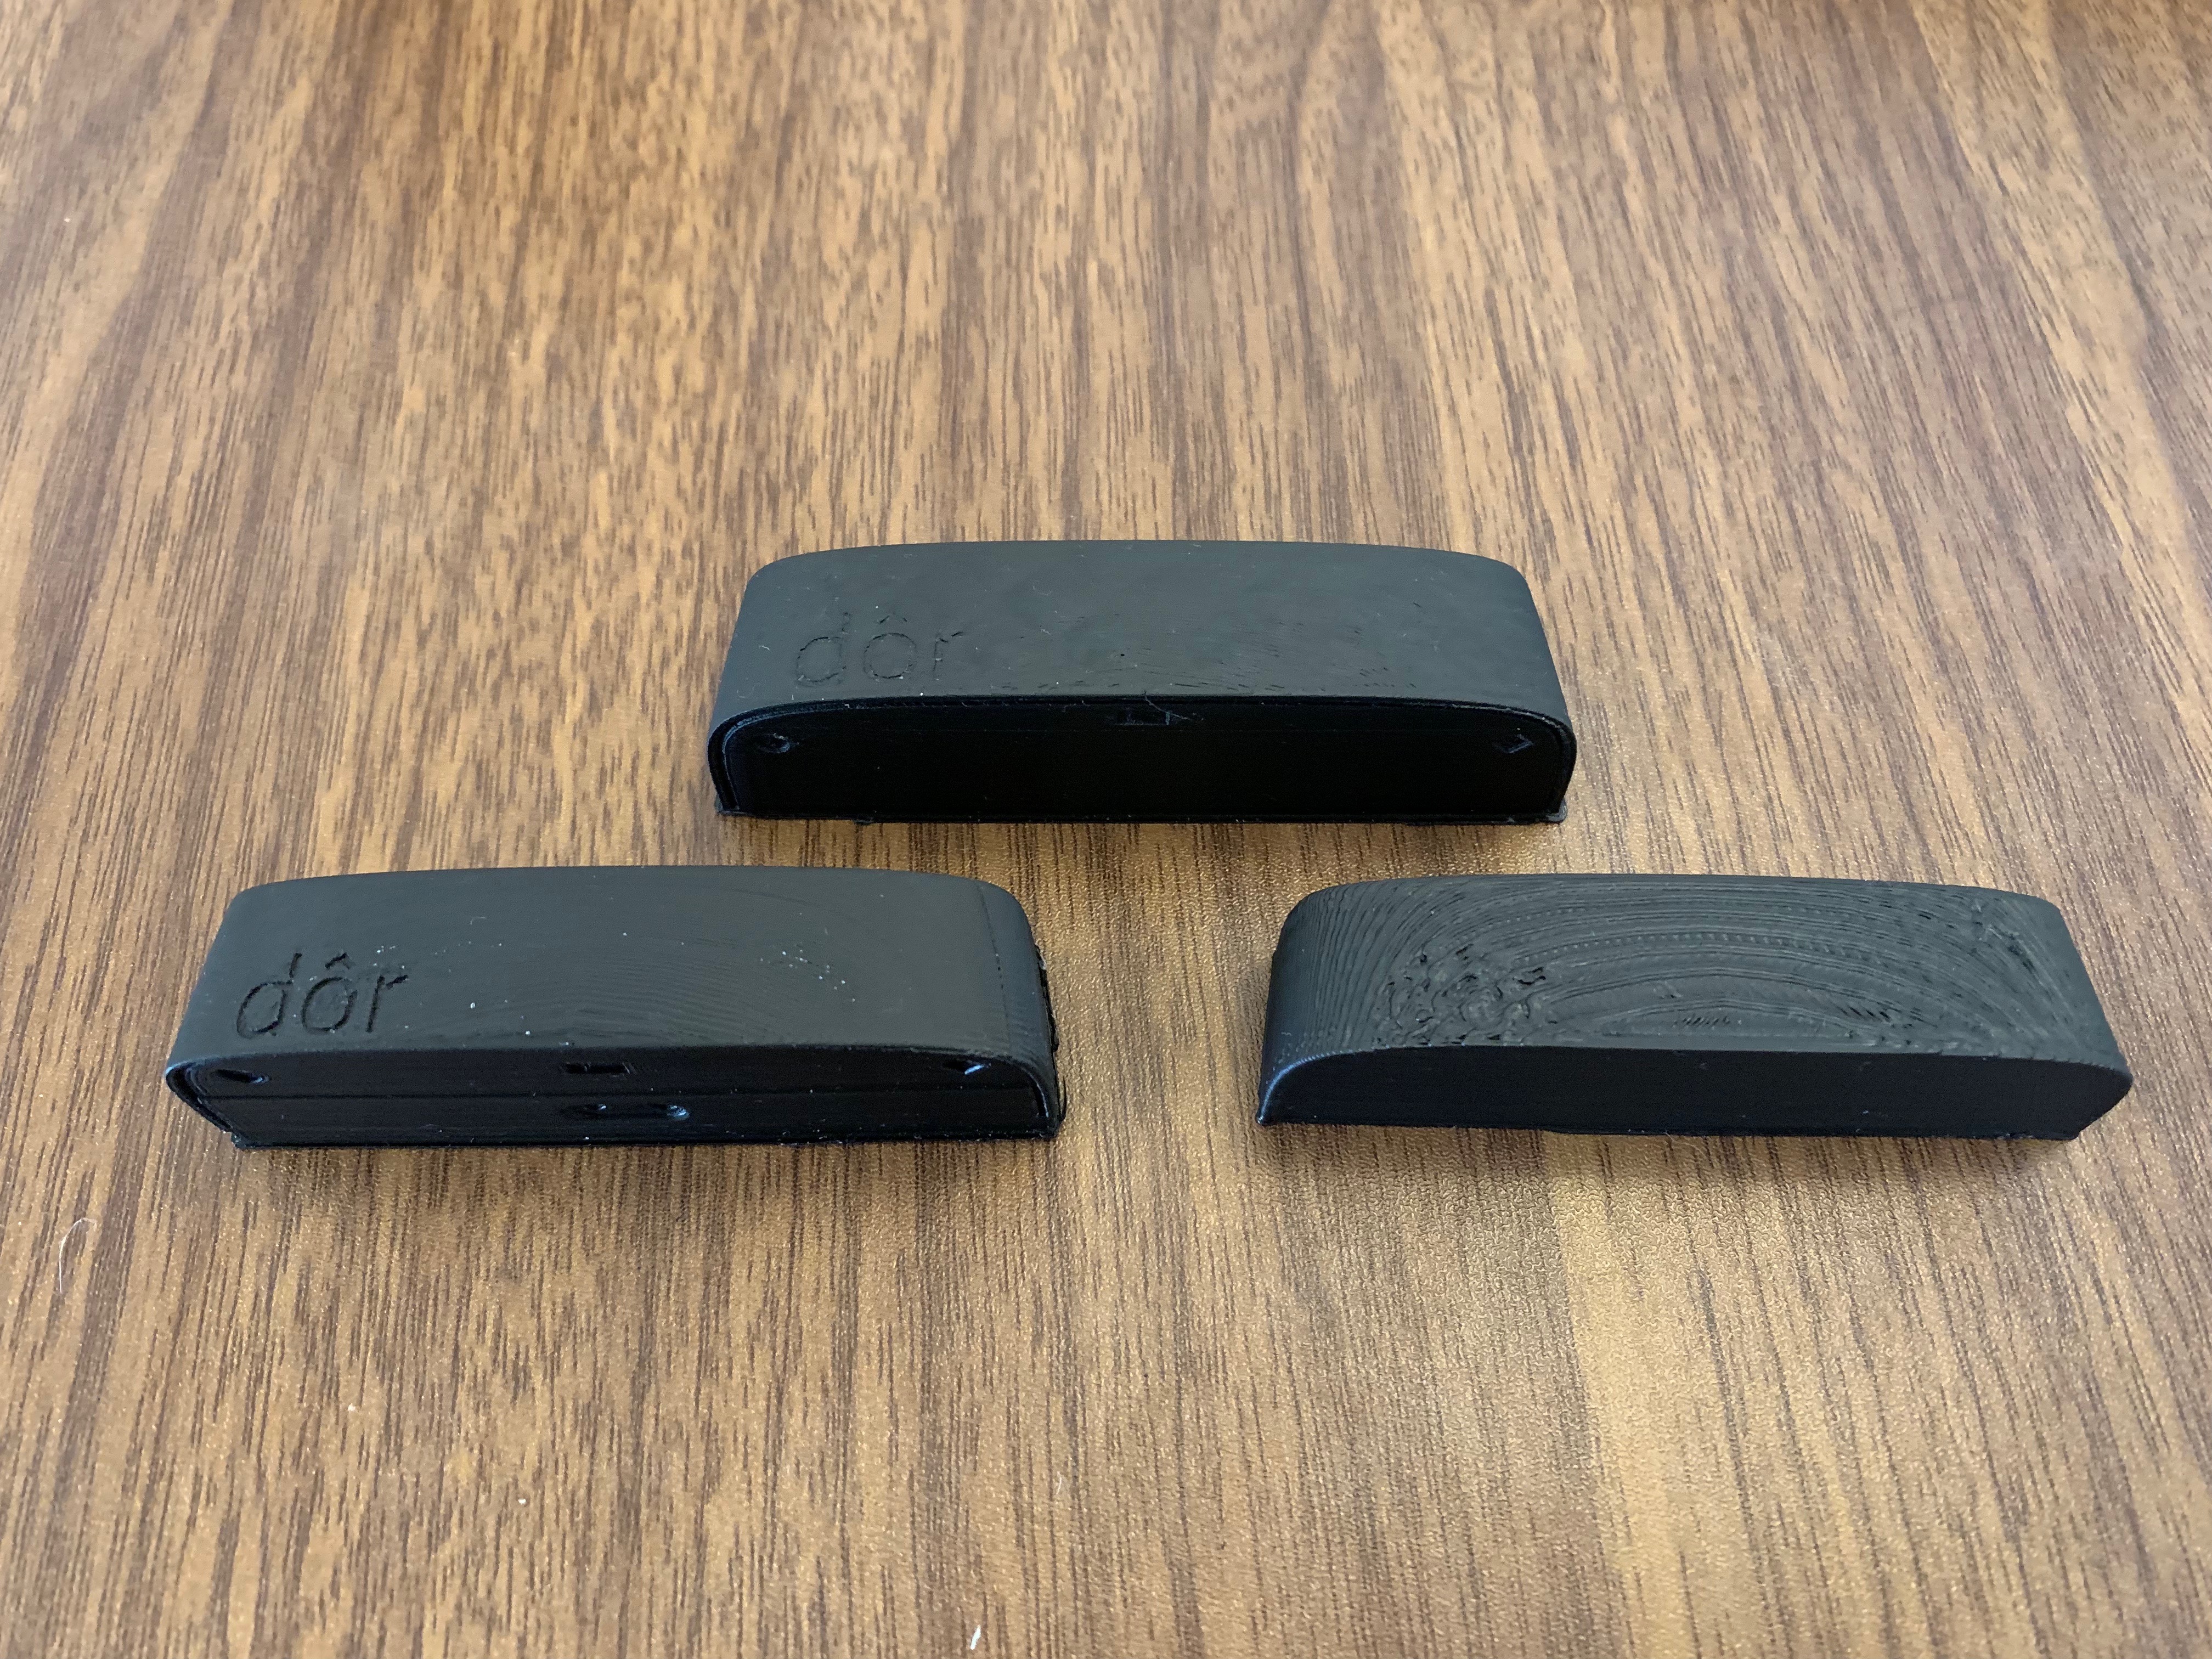
In order to get the highest possible quality master print, I sent away for it from Hubs to get printed on an SLA style 3d printer with 25μm layers heights. 3 days later my print arrived in the mail, you can barely make out the layers on this thing.

Next step is to make a few silicone moulds. Since this is the cheaper type of silicone, tin based, each mold should last for about 10-15 castings before starting to break down. Since I want to end up with about 30 of these, I decided to make 3 molds.
Making a mold is pretty simple, just make a box out of some hot glue and foam-core, hotglue the master to the bottom, and pour the mixed silicone in overtop.
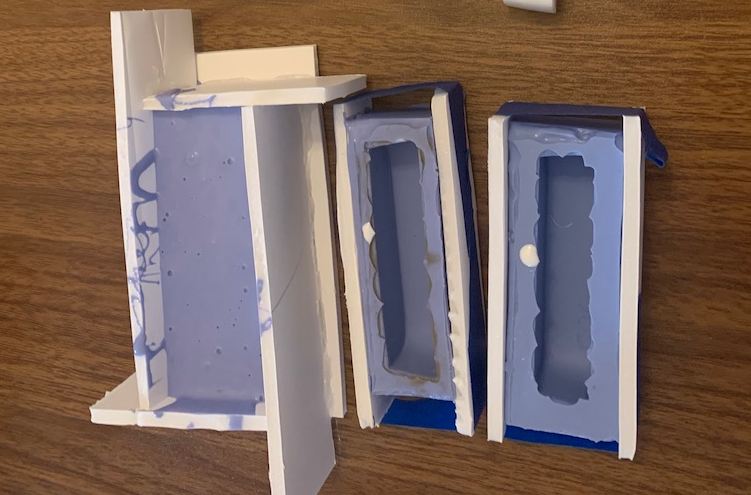
I had a few issues with bubbles getting trapped in the the smaller details on the bottom of the sensor. To help with this I would pour very fine strands of the silicone into the bottom, and jostle it into the details of the master before pouring the rest of the mold.
Now it was just a matter of buying 2 gallon jugs of white Smooth-Cast 300 resin from my local craft shop, and making 30 of these things. The resin cures in about 10 minutes, so a few evenings of work later and I had 40
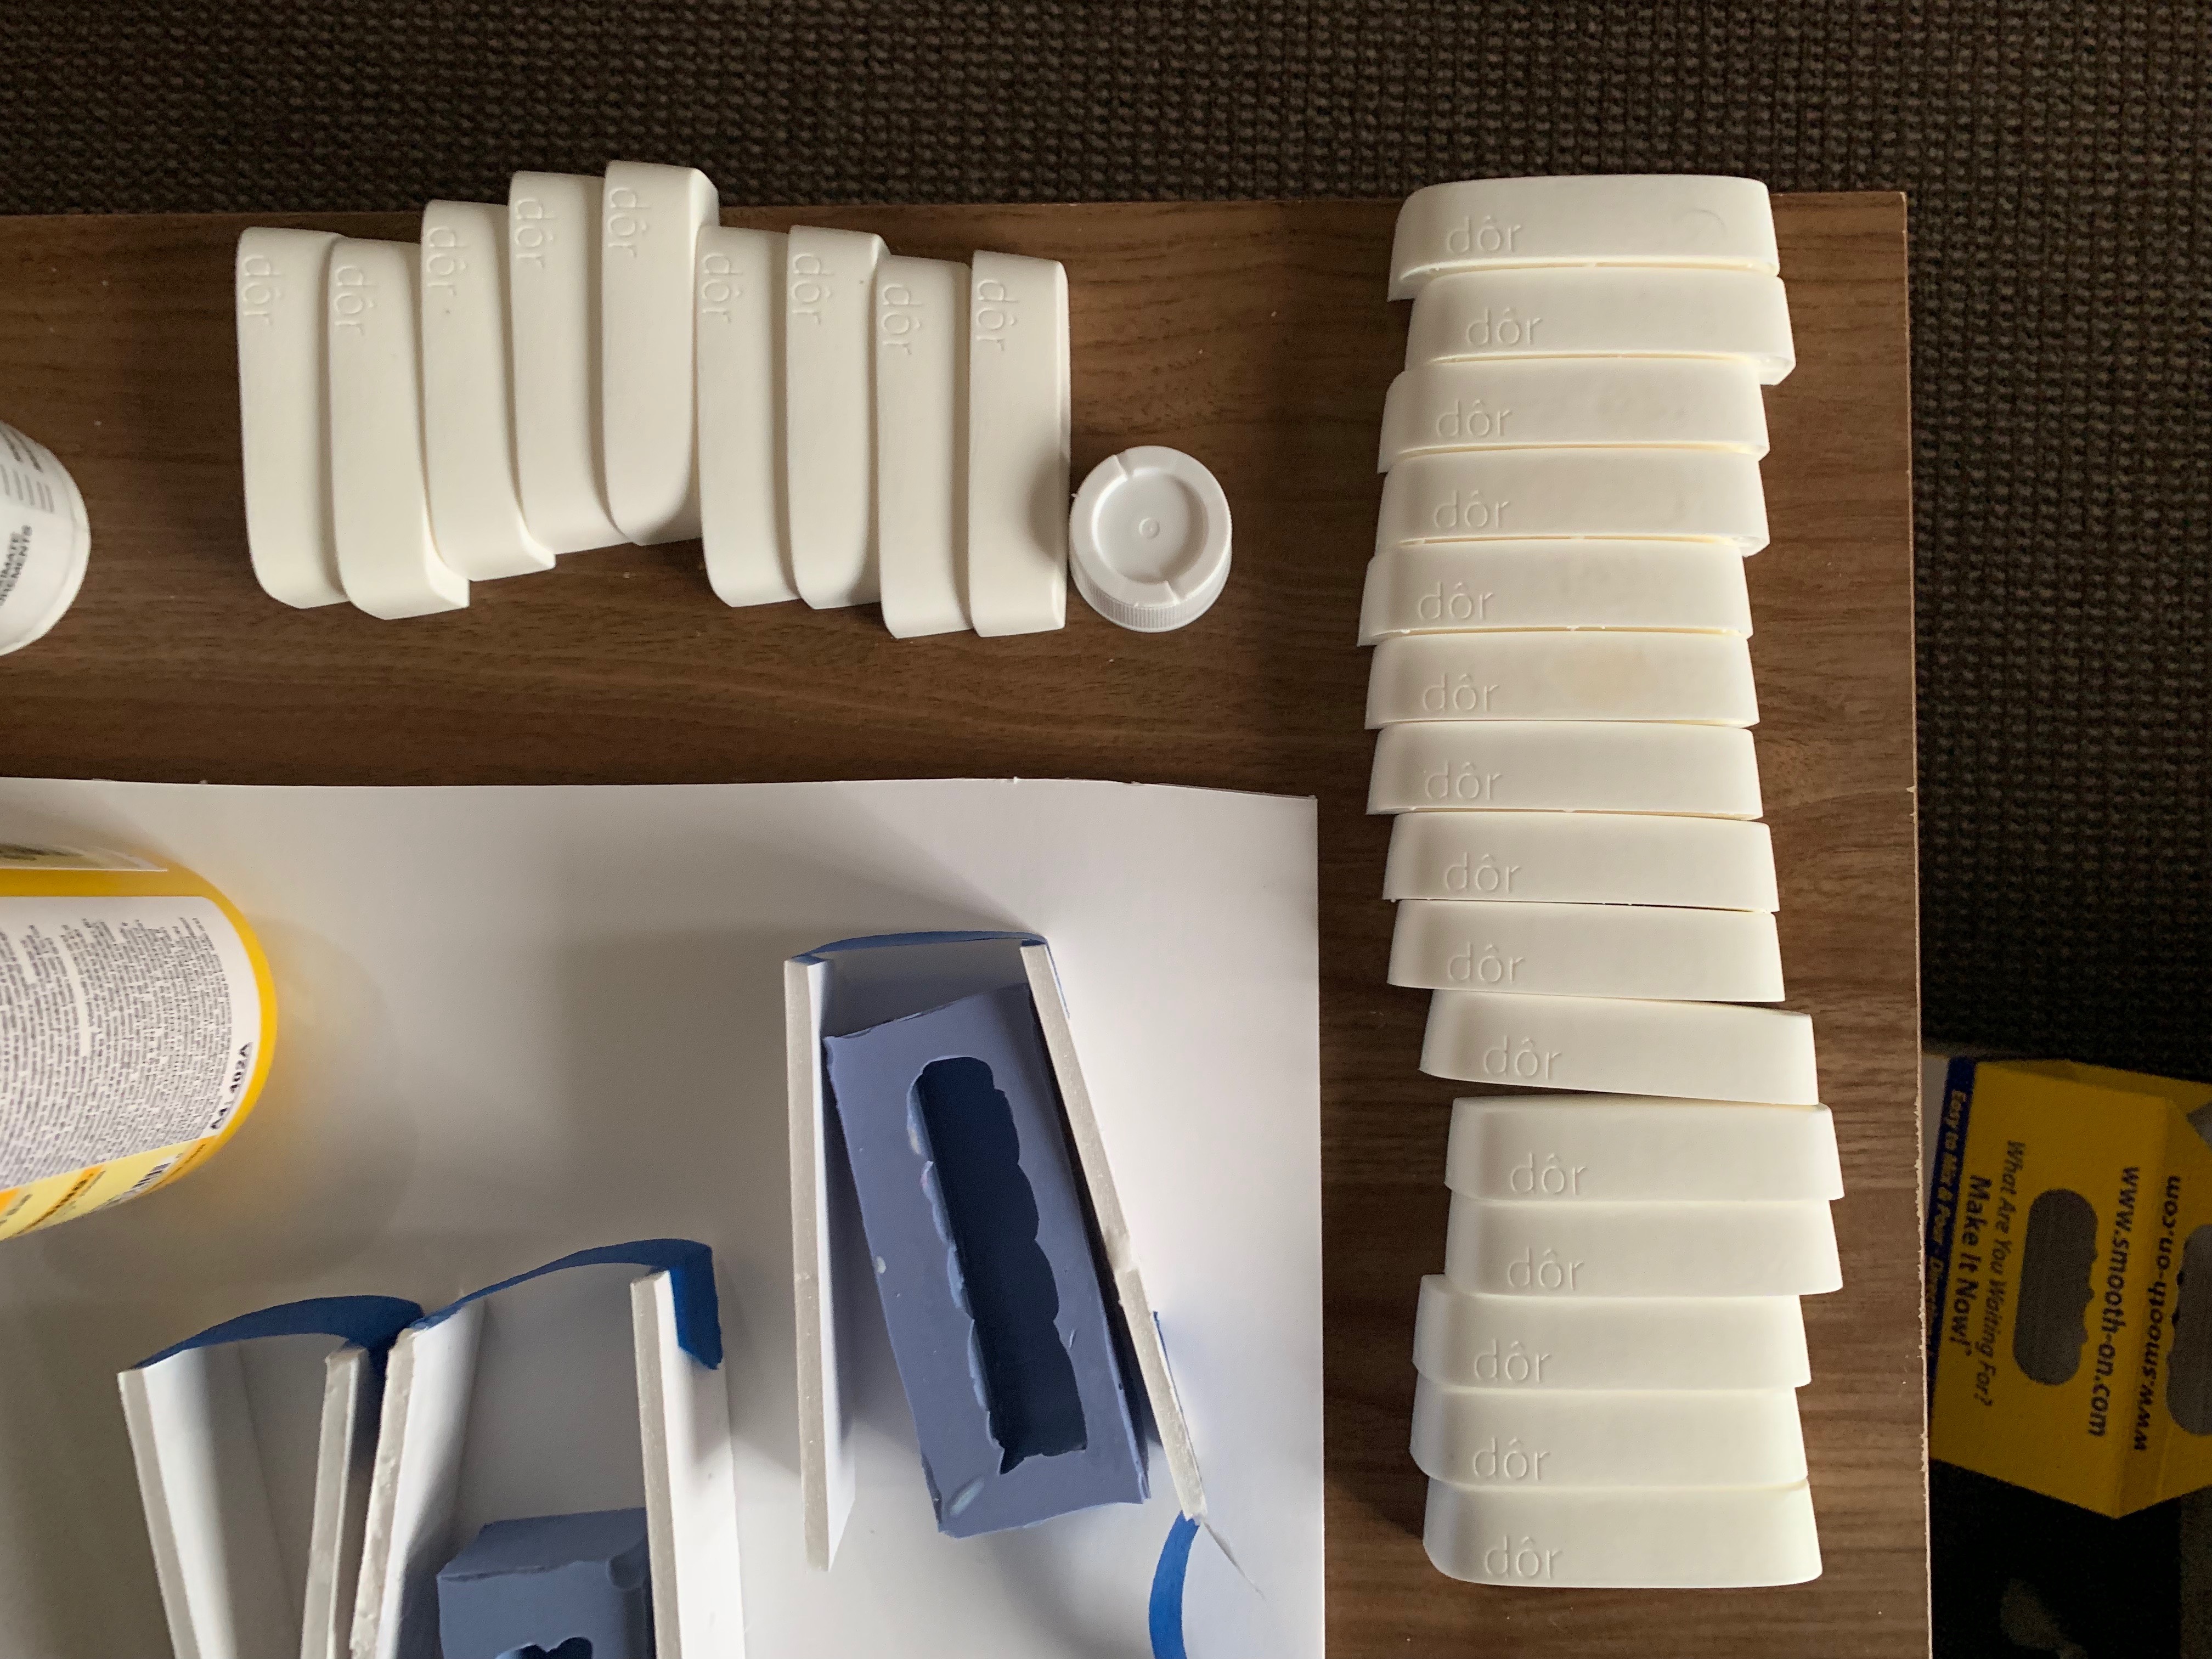
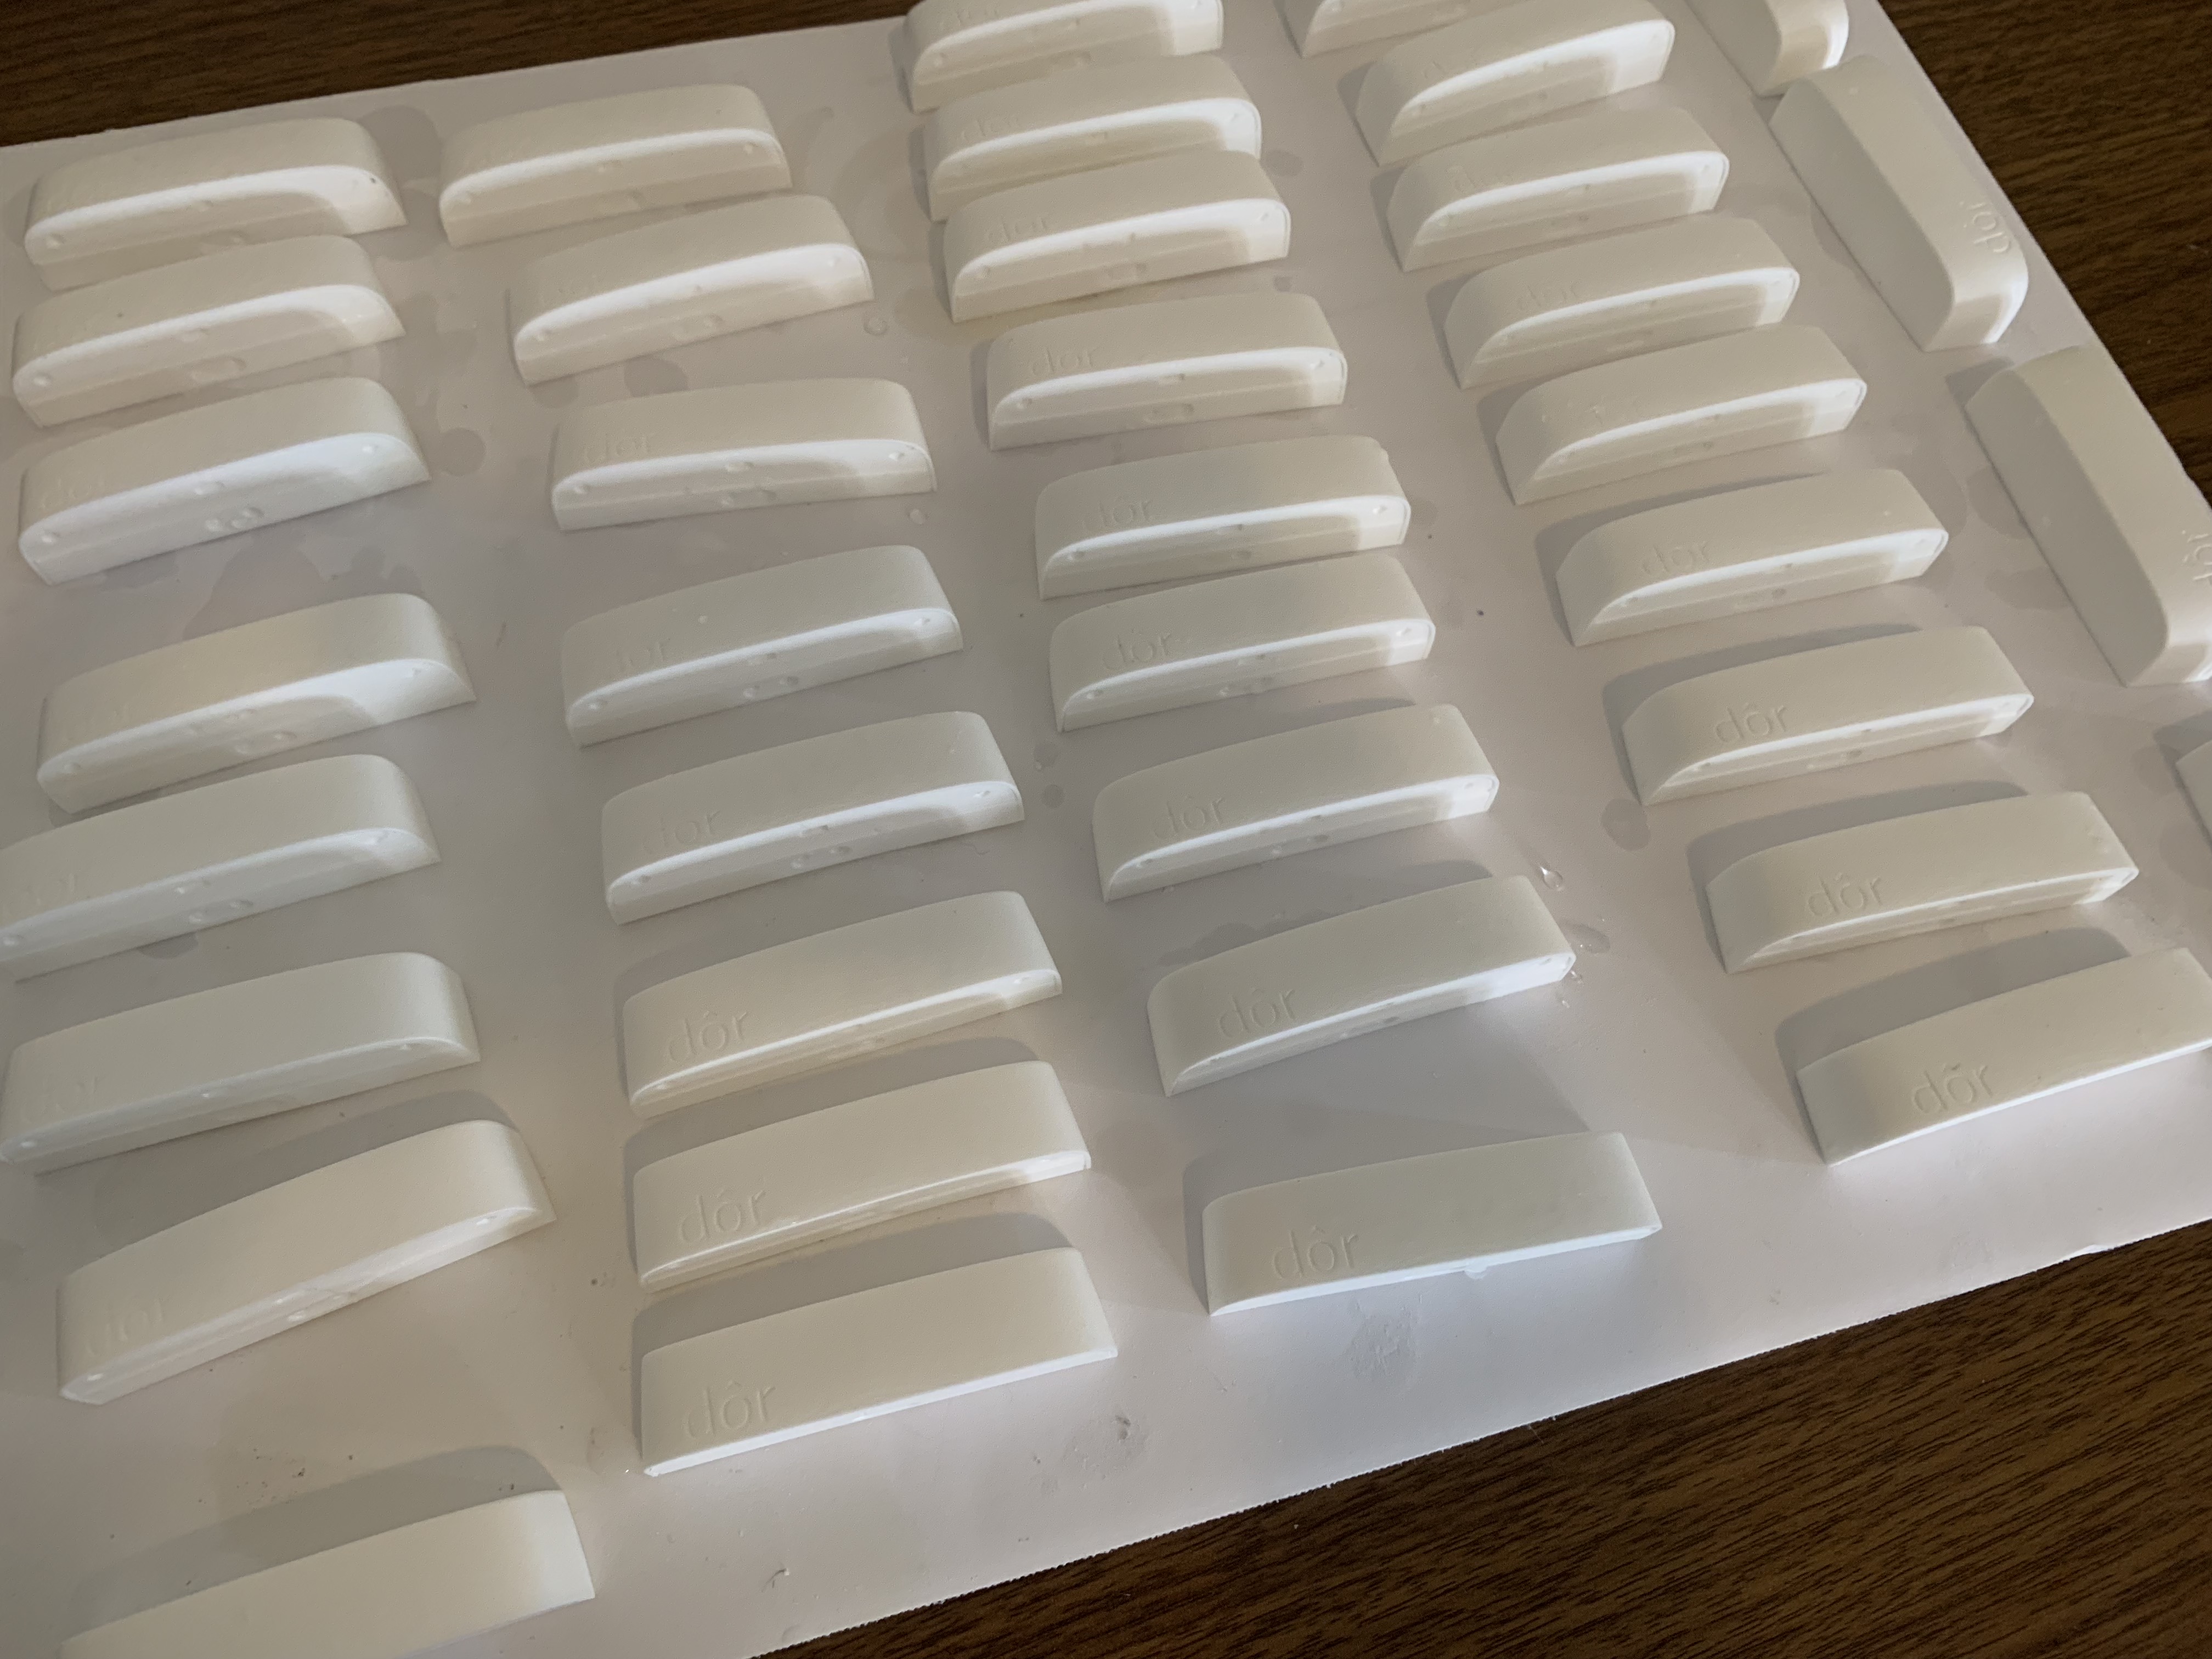
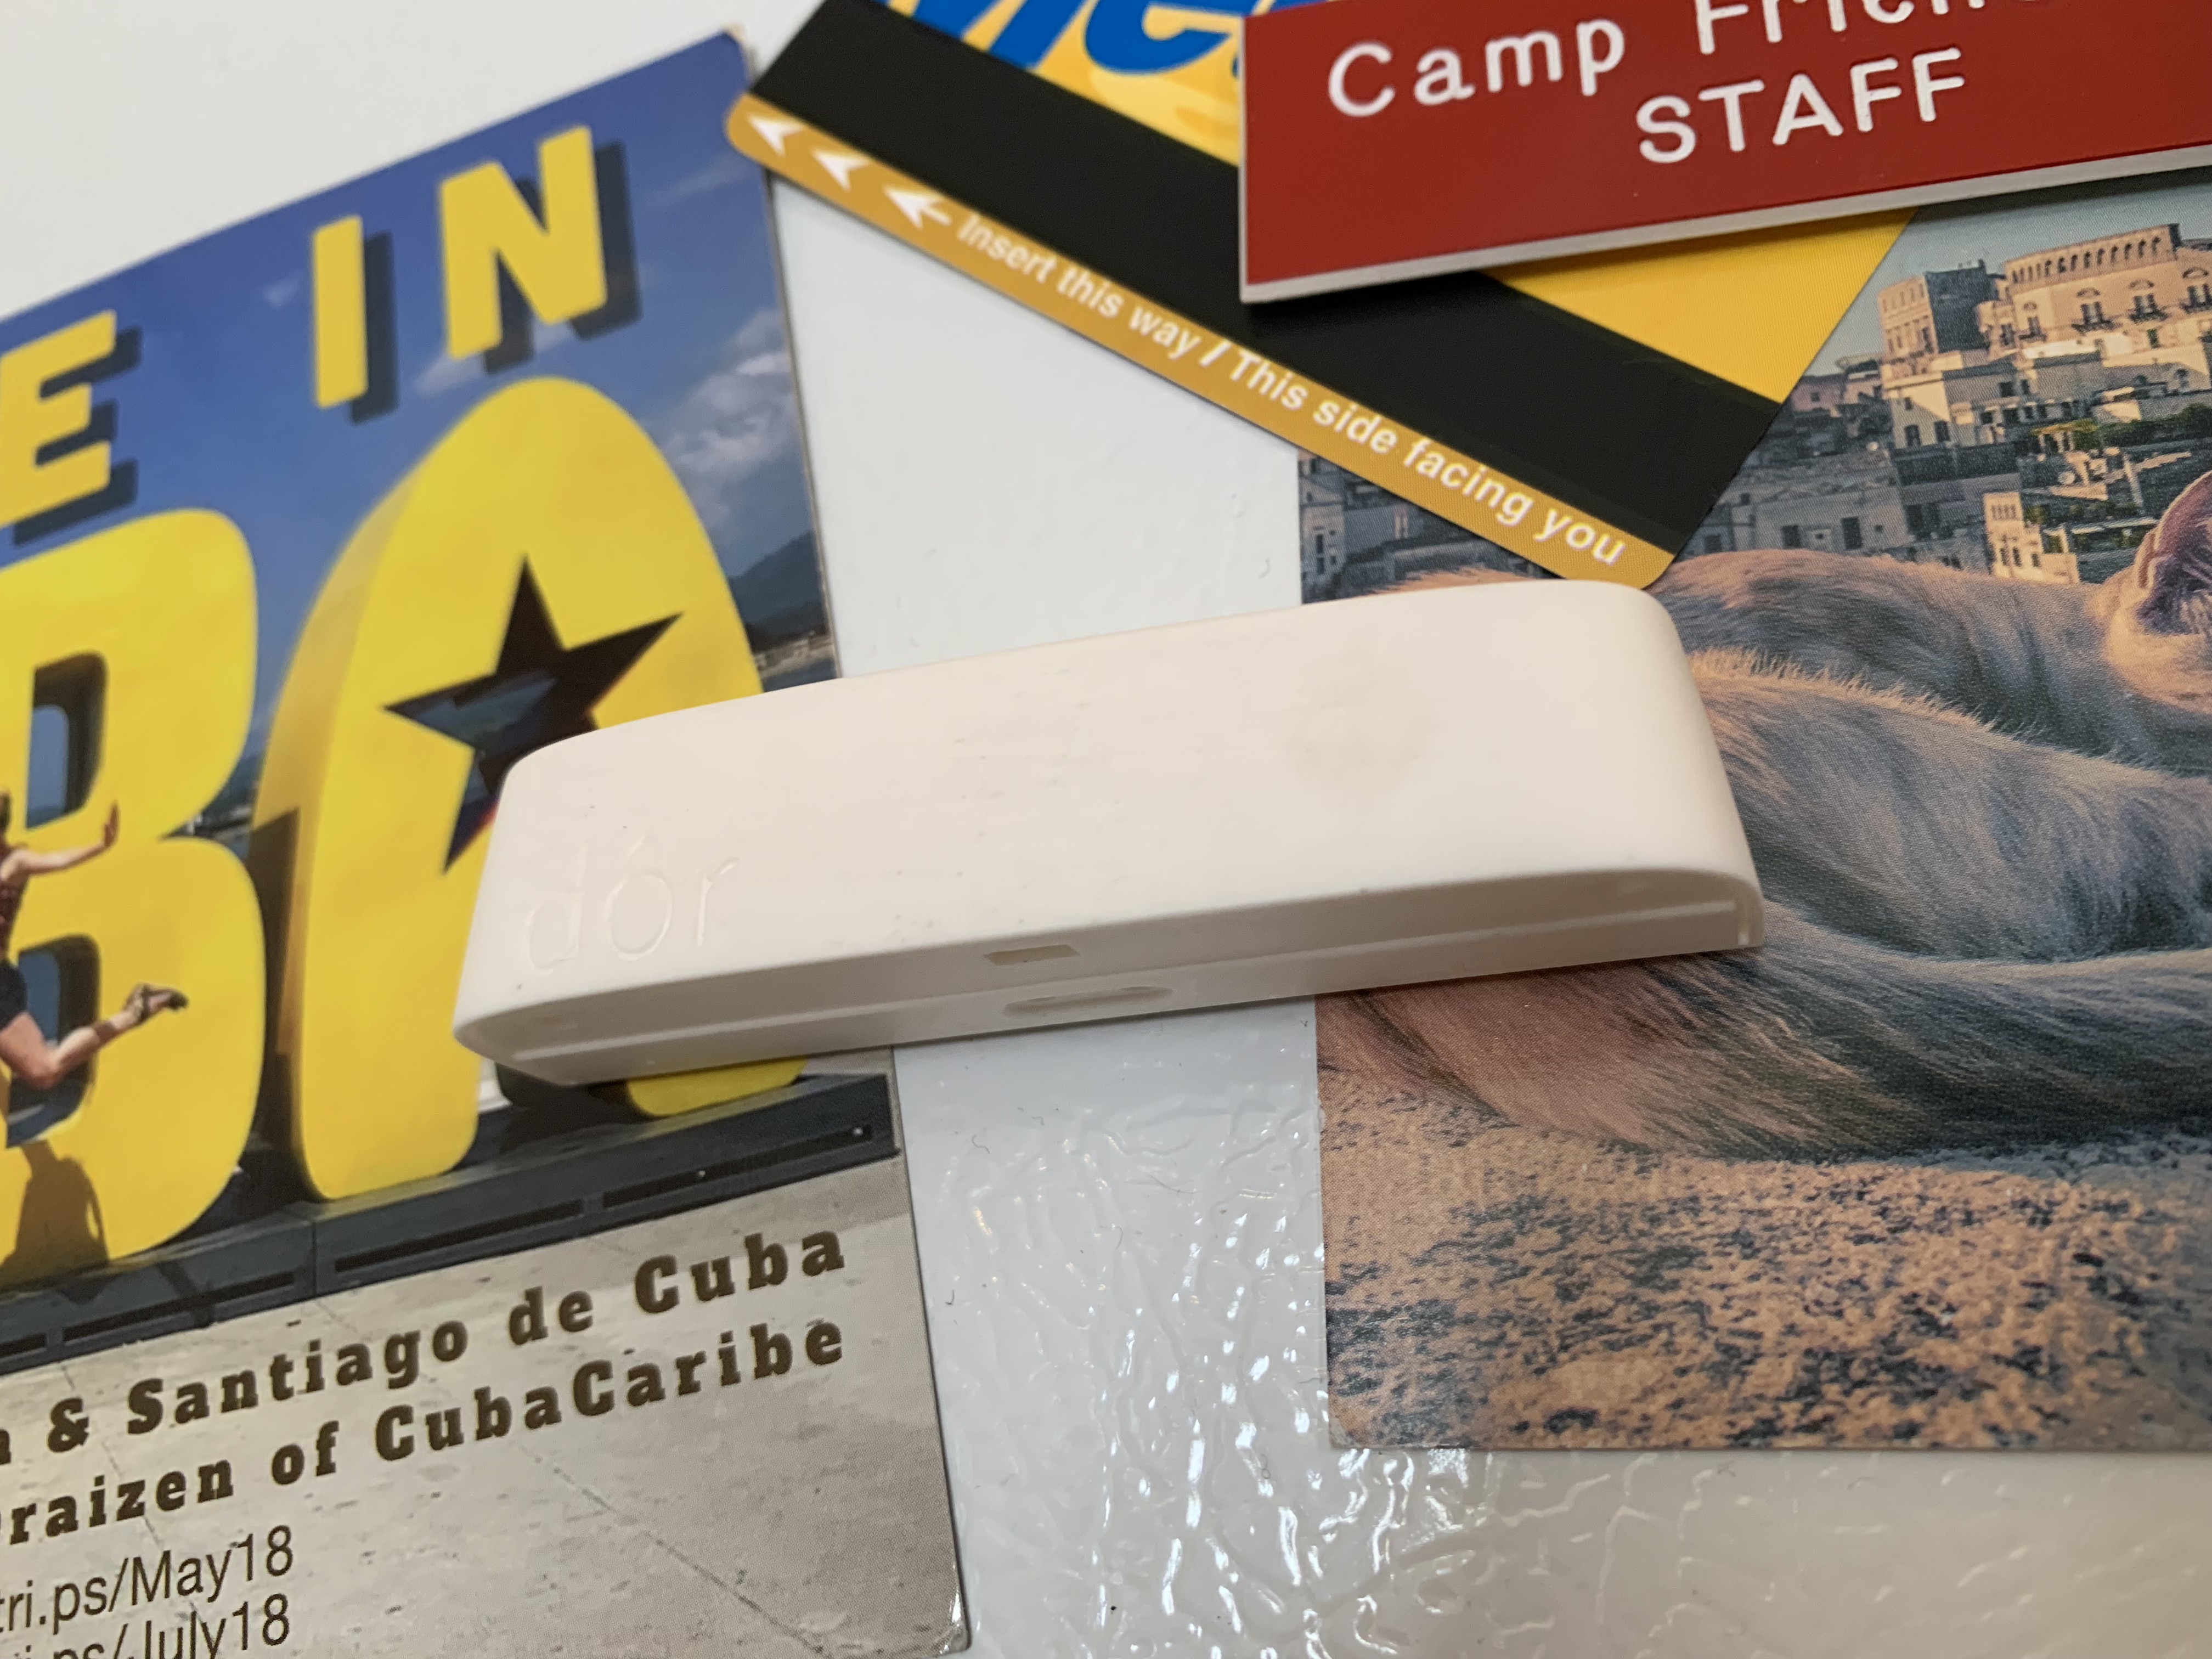
After sanding down some of the casting imperfections, giving them all a few clear coats of matte spray paint for protection, and sticking a magnet on, they were done and ready for the party.
I was able to figure this out thanks to some great free resources on the internet. I will link the things that helped the most here, in case you want to do this yourself: